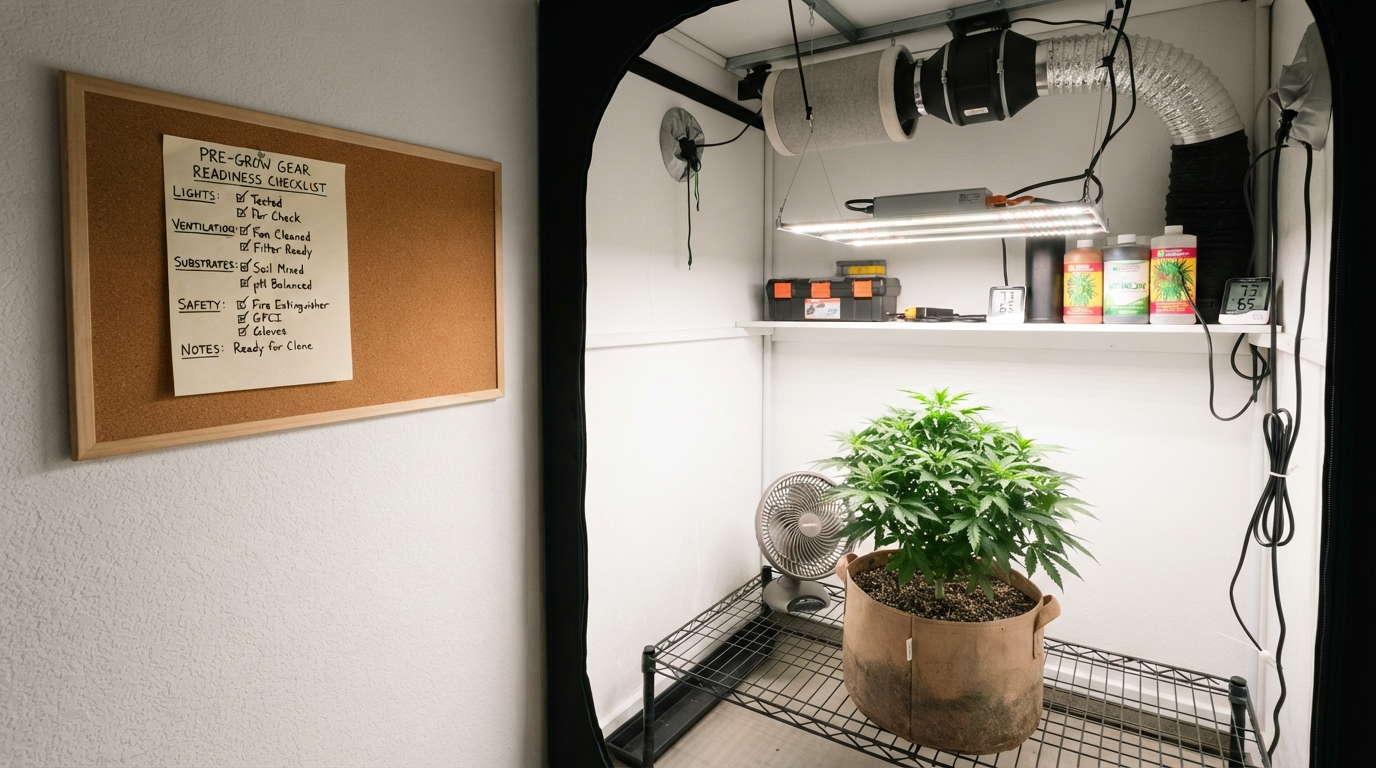
Pre-Grow Gear Readiness Checklist: Lights, Ventilation, Substrates, and Safety
Byredd
Phase 1: Legal Compliance & Space Planning
Before any equipment is plugged in, you must ensure your footprint is legal and logical. The 2026 landscape for home cultivation has specific requirements that vary by state.Check Local Plant Limits & “Locked Space” Laws
Verify your current state laws regarding plant counts and the requirement for “locked, enclosed spaces” to stay compliant.
View the 2026 U.S. Home Grow Laws Directory
Footprint Measurement vs. Light Coverage
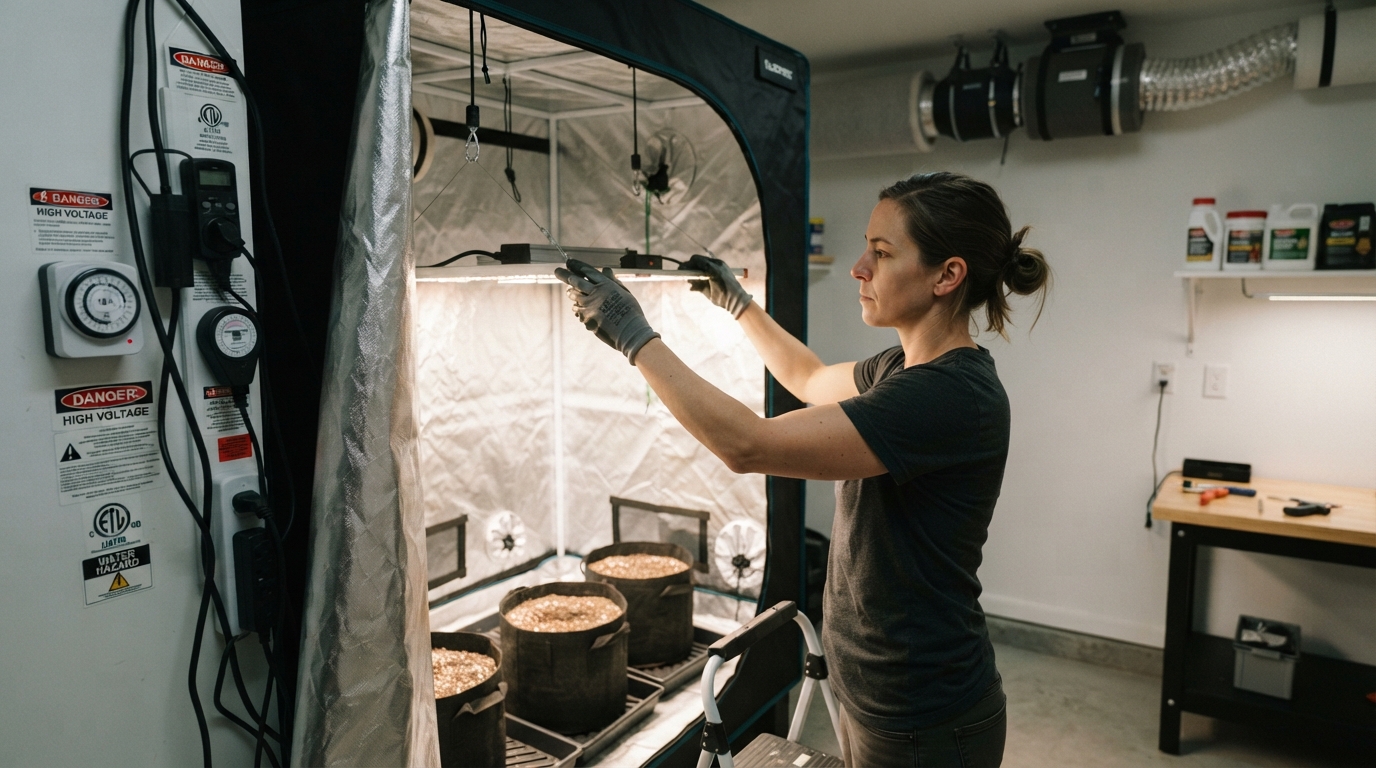
Ensure your grow tent or room dimensions match your light’s effective “footprint.” A 4×4 light in a 5×5 tent creates “dead zones” at the edges.
Height Clearance for Ventilation
Factor in the vertical space taken by your carbon filter, light hangers, and the safety gap between the light and the plant canopy.
Pro Tip: Always plan for at least 12-18 inches of clearance between the top of your filter and the ceiling to avoid air resistance.
Phase 2: Lighting Systems (The “Sun” Check)
Lighting is the primary driver of photosynthesis and, ultimately, your THC/CBD yield. Modern LED grow lights are the industry standard for efficiency, but they require precise setup.Verify Full Spectrum Capability
Ensure your light provides the blue wavelengths for veg and red/far-red for flower. For clones, you may need a specialized low-intensity LED setup.
Rope Ratchet & Hanging Hardware Audit
Test your hangers. Can they support 20-30 lbs? Are they adjustable enough to move the light up as the plant stretches during bloom?
Timer Calibration
Automate your photoperiods. Whether using a digital timer or a smart timer, run a 24-hour test to ensure it switches off/on exactly as programmed.
| Growth Stage | Light Intensity (PPFD) | Standard Hanging Height |
|---|---|---|
| Seedling | 100-300 µmol/m²/s | 24″ – 36″ |
| Vegetative | 400-600 µmol/m²/s | 18″ – 24″ |
| Flowering | 600-900+ µmol/m²/s | 12″ – 18″ |
Phase 3: Ventilation & Climate Control
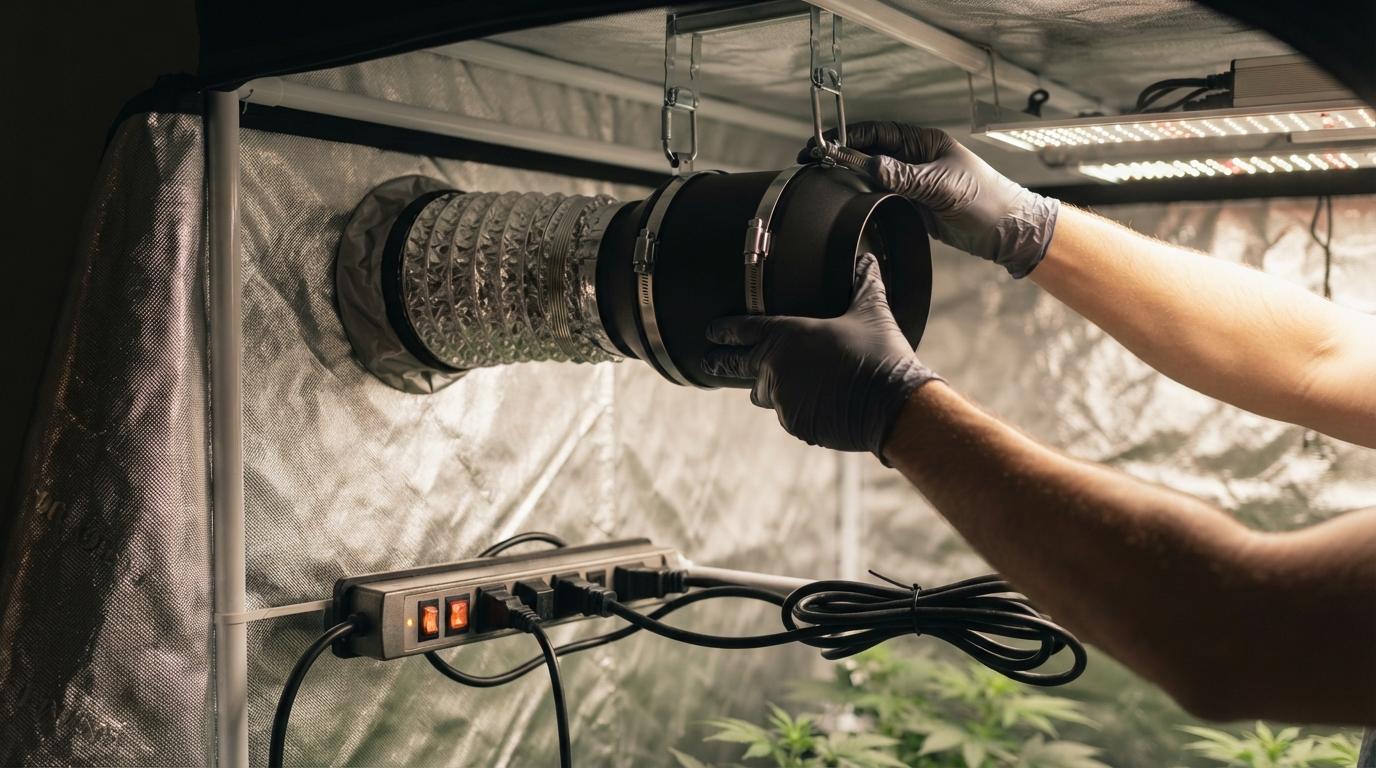
Your plants need to “breathe.” Without proper air exchange, you risk mold, pests, and nutrient lockout. This is where VPD (Vapor Pressure Deficit) monitoring becomes critical.Inline Exhaust Fan & Carbon Filter Setup
Verify the fan’s CFM (Cubic Feet per Minute) rating is sufficient to exhaust the entire volume of the tent every 1-3 minutes.
Internal Air Circulation
Install at least two oscillating fans. One should blow between the canopy and the light, and another should circulate air beneath the canopy to prevent “dead air” pockets.
Hygrometer & Sensor Placement
Place your sensors at canopy height, not on the floor or wall, to get an accurate reading of what the plant is experiencing. Consult a VPD Chart to set your target levels.
Phase 4: Substrates, Pots, and Nutrition
Your choice of medium dictates your daily workload. Whether you are using super soil or a DWC hydroponic system, prep is key.Medium Hydration & Buffering
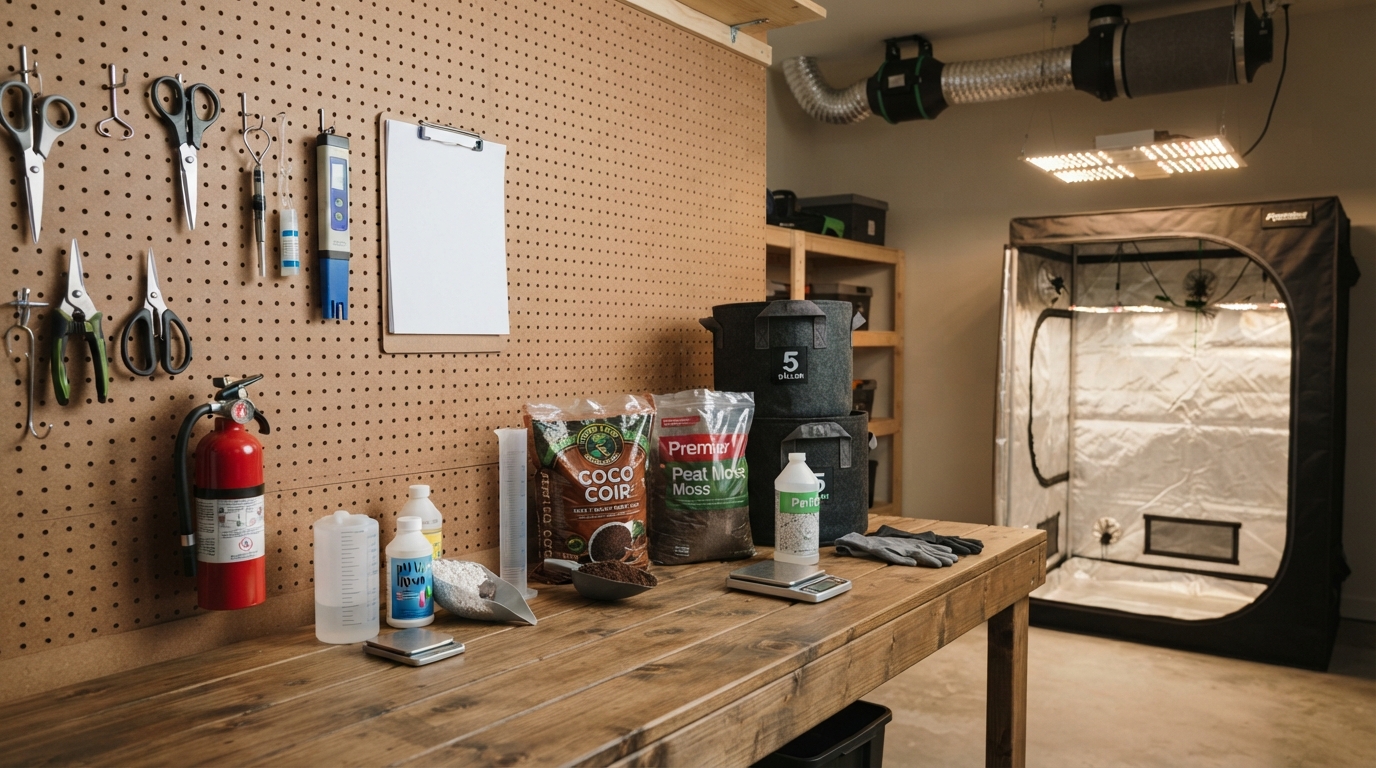
If using Coco Coir, ensure it has been buffered with Cal-Mag. If using soil, pre-moisten it 24 hours before planting to activate the microbial life.
Drainage Validation
Ensure your fabric pots or plastic containers have adequate drainage holes. Use risers to prevent the pots from sitting in stagnant “runoff” water.
Nutrient Inventory
Check your shelf. Do you have a base Veg and Bloom nutrient? Do you have pH Up and pH Down? Missing these during a nutrient deficiency crisis can be fatal to your crop.
Phase 5: Electrical Safety & Fire Prevention
Cannabis cultivation involves high-intensity lighting and water—a dangerous combination if not handled with care.The “Drip Loop” Rule
Every power cord should have a “drip loop” (a loop that hangs lower than the outlet) to prevent water from running down the cord and into the socket.
Circuit Load Audit
Standard household circuits are often 15 amps. Calculate your total wattage (Lights + Fans + Dehumidifiers). If you exceed 80% of the circuit’s capacity, you risk tripping breakers or fire.
GFCI Protection
Always use GFCI (Ground Fault Circuit Interrupter) outlets or adapters for any equipment near water sources.
Phase 6: The “Pre-Flight” 24-Hour Test
Do not put plants in the room immediately. Run your entire system (Lights, Fans, Humidifiers) for 24 hours while empty.- Check Temperature Swings: Does the temperature spike when the lights have been on for 6 hours?
- Check Humidity Stability: Can your humidifier maintain the 60-70% RH needed for seedlings?
- Light Leak Check: Sit inside your grow tent with the lights off and the room lights on. If you see any pinpricks of light, seal them with aluminum tape to prevent hermaphroditism during flower.
Frequently Asked Questions
What is the most common gear mistake for beginners?
Neglecting air circulation. Beginners often focus entirely on the light and forget that stagnant air leads to powdery mildew and weak stems. Always have at least one fan moving air around the plants.
How do I know if my light is the right distance?
While the “hand test” (feeling for heat) works for old HID lights, LEDs can cause light burn without heat. Use a PAR meter or a light spectrum sensor like the Aranet Light Sensor for scientific accuracy.
Should I buy a “complete grow kit” or individual parts?
Kits are excellent for ensuring compatibility between fans, filters, and tents. However, experienced growers often prefer individual parts to get a higher quality LED fixture than what is typically included in entry-level bundles.
Do I need a carbon filter from Day 1?
No. Most plants don’t produce significant odor until the middle of the vegetative stage or early flowering. However, installing it during setup is much easier than trying to hang a heavy filter over mature, fragile plants later.